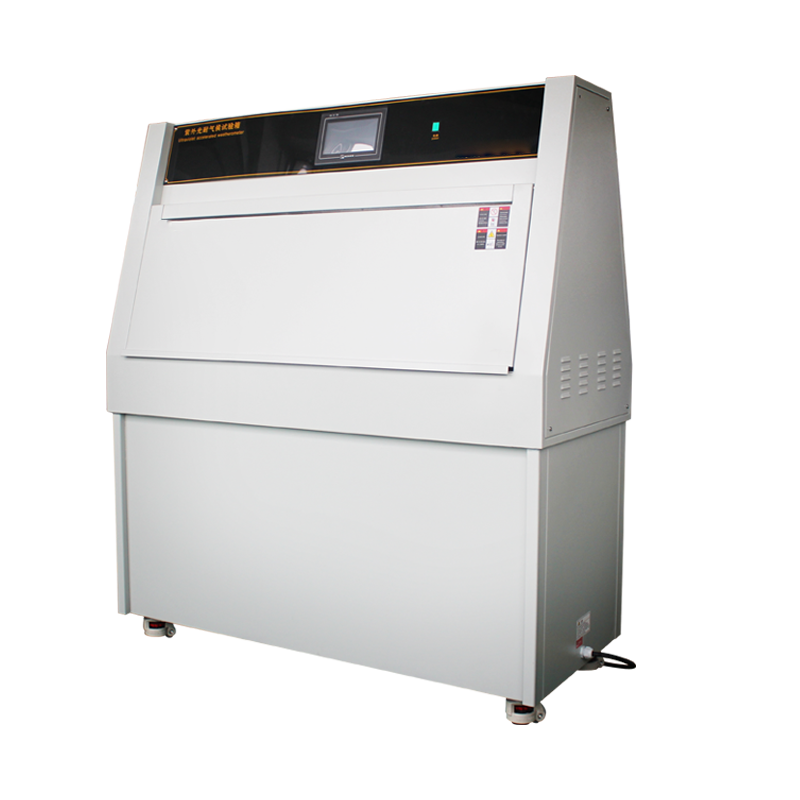
UV aging test chambers are essential equipment in quality control and R&D. However, after prolonged use, the sealing strips can age, harden, or even crack, resulting in serious air leakage. This not only affects the stability of temperature and humidity control but also leads to inaccurate test data, wasted resources, and potential delays in project timelines. Many users’ first instinct is to immediately contact the manufacturer—but is this really the only option?
1. Is Replacing the Sealing Strip Yourself Actually Feasible?
Yes, absolutely! As long as you select a sealing strip with the correct material and dimensions and have basic DIY skills, replacing it yourself is entirely manageable. Many test chamber models feature standardized groove designs, making seal replacement a straightforward process—similar to applying adhesive-backed or insert-type strips—that doesn’t require professional tools.
When should you consider replacing it yourself?
- The sealing strip is a common model and easy to source.
- The leakage issue is urgent, and the manufacturer’s response time is too long.
- You want to control maintenance costs, as manufacturer services can be expensive.
When is it better to contact the manufacturer?
- The equipment is still under warranty (self-repair may void the warranty).
- The chamber has a complex structure or uses custom-designed sealing strips.
- The air leakage is accompanied by other issues, such as refrigeration problems or UV lamp degradation.

2. How to Replace It Yourself in 4 Steps
Confirm the specifications
Check the old seal’s cross-sectional shape, width, thickness, and material (usually silicone or fluororubber). Measure the groove length and take photos for accurate reference when purchasing a replacement.
Choose a suitable replacement
Always choose materials resistant to high temperatures and UV aging (e.g., silicone seals withstand -60°C to 260°C; fluororubber offers better ozone resistance). Low-quality seals may degrade quickly, costing more in the long run.
Clean and install
Thoroughly remove any residue from the old seal (using alcohol for cleaning).
Starting from one corner of the door, gently press the new seal into the groove, avoiding overstretching.
Cut the ends at a 45-degree angle and reinforce with high-temperature-resistant adhesive.
Test for leaks
After installation, close the chamber door and place a thin piece of paper in the door gap. If you feel significant resistance when pulling it out, the seal is effective. Alternatively, run the equipment and monitor temperature and humidity stability.
3. Expert Advice: Quality Determines Lifespan—Selection Matters More Than Replacement!
The key to a successful DIY replacement lies in using reliable components. While sealing strips vary widely in price, the integrity of the seal directly impacts test accuracy. Don’t compromise quality for cost. Consider the following:
- Genuine OEM parts: Guaranteed compatibility and longevity.
- Certified third-party products: Choose weather-resistant seals from reputable manufacturers, and request material test reports.
- Avoid cheap, low-quality products: Unlabeled or untested seals may release contaminants and interfere with the test environment.
UV aging test chambers are precision instruments, but replacing the sealing strip falls under user-maintainable tasks. By sourcing high-quality seals through reliable channels and following proper procedures, you can resolve the issue efficiently while saving time and costs.


